ID Cards Designing Software Screenshots
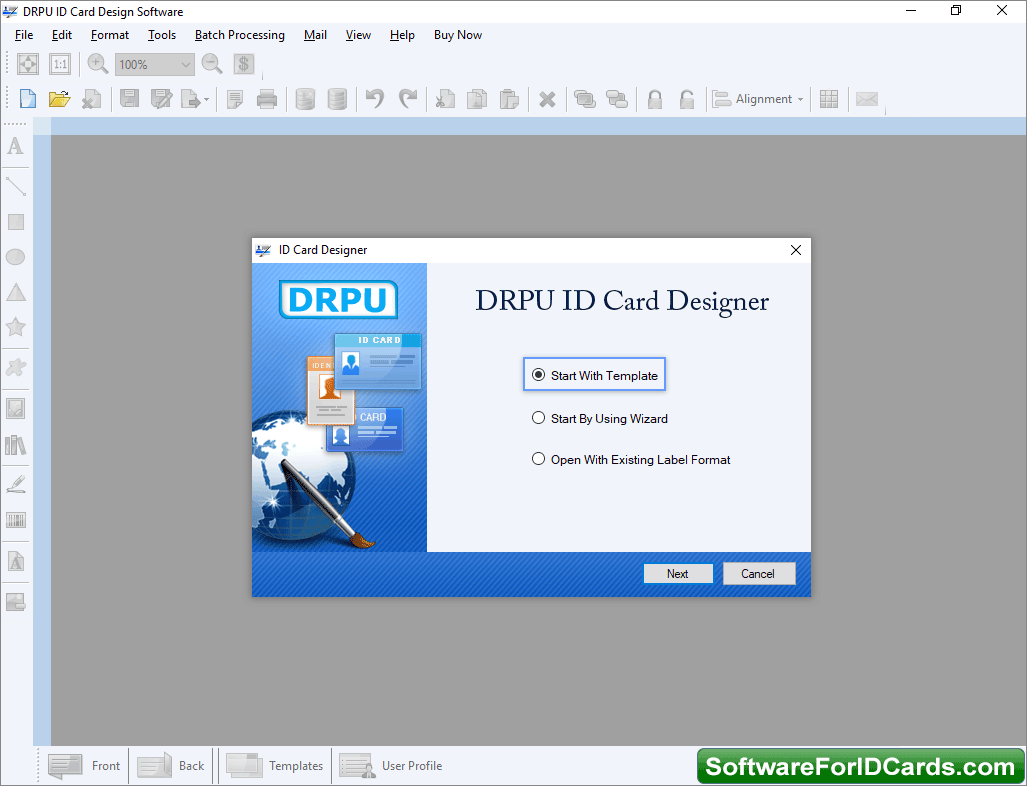
STEP 1: Start by using Wizard - Choose any one option among templates, Wizard or open with existing label format to start designing card.
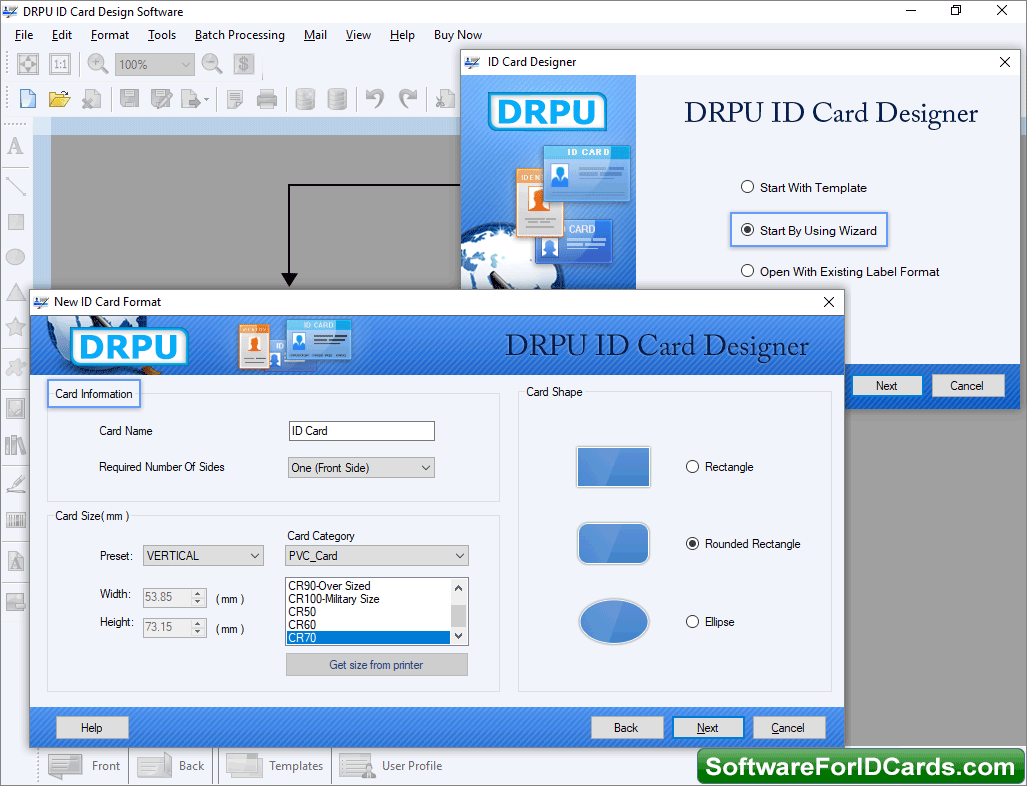
STEP 2: Fill Card Information - Apply any card shape and fill card information as per user's need.
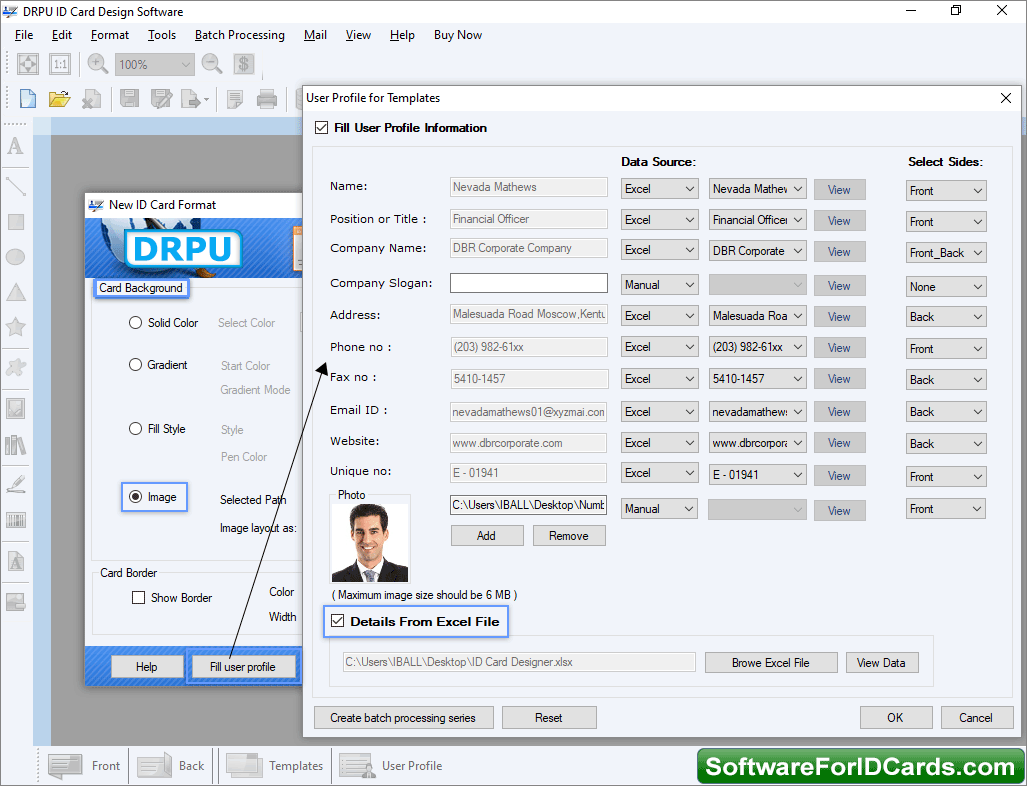
STEP 3: Fill User Profile Information - Fill user information by importing excel file or manually to add user details on ID card.
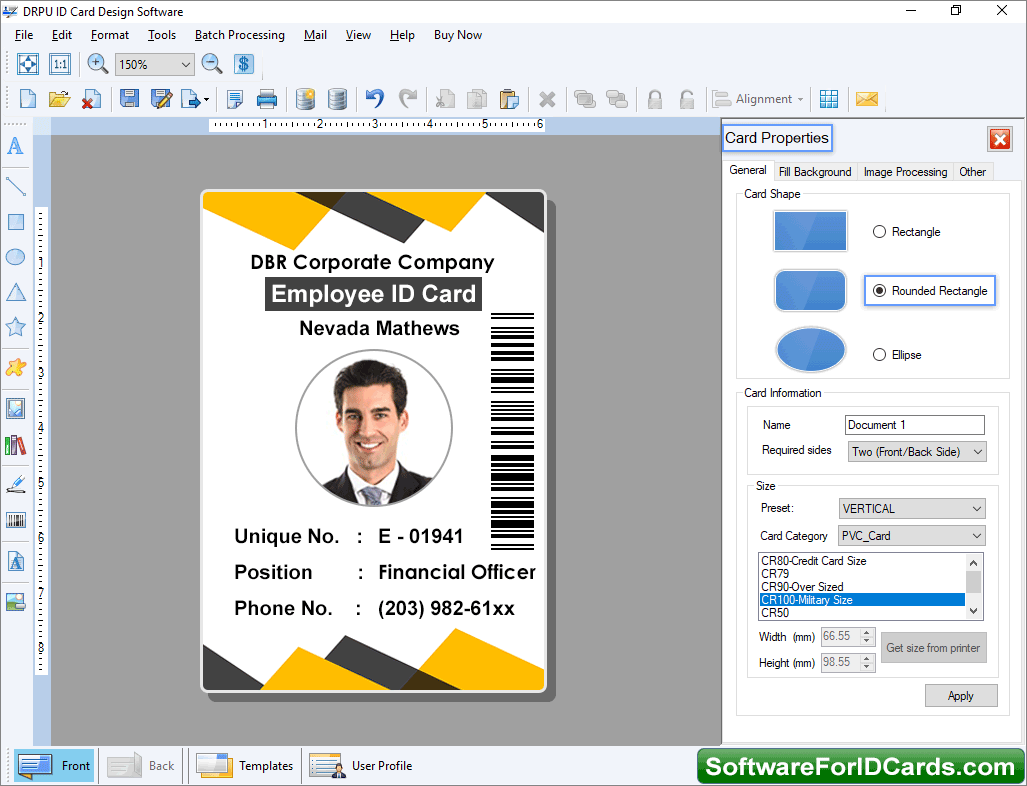
STEP 4: Designed ID Card - Choose your require card properties and apply on your designed id card if you want to.
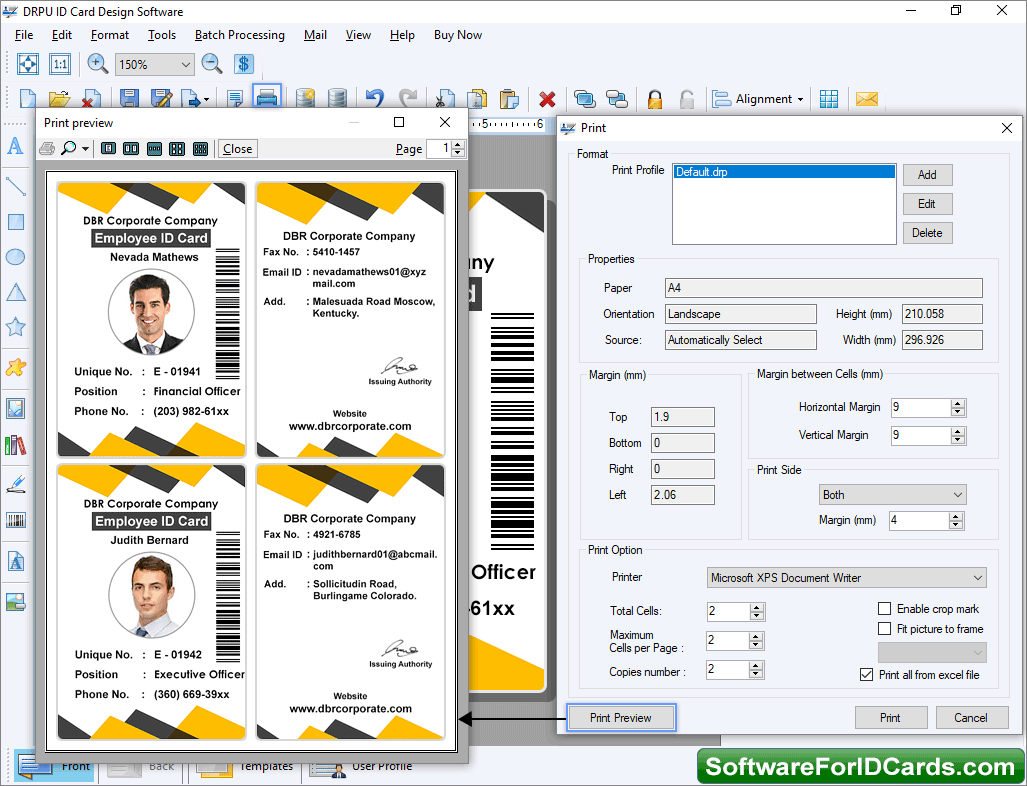
STEP 5: Set Print Format - Choose your require card properties and apply on your designed id card if you want to.


